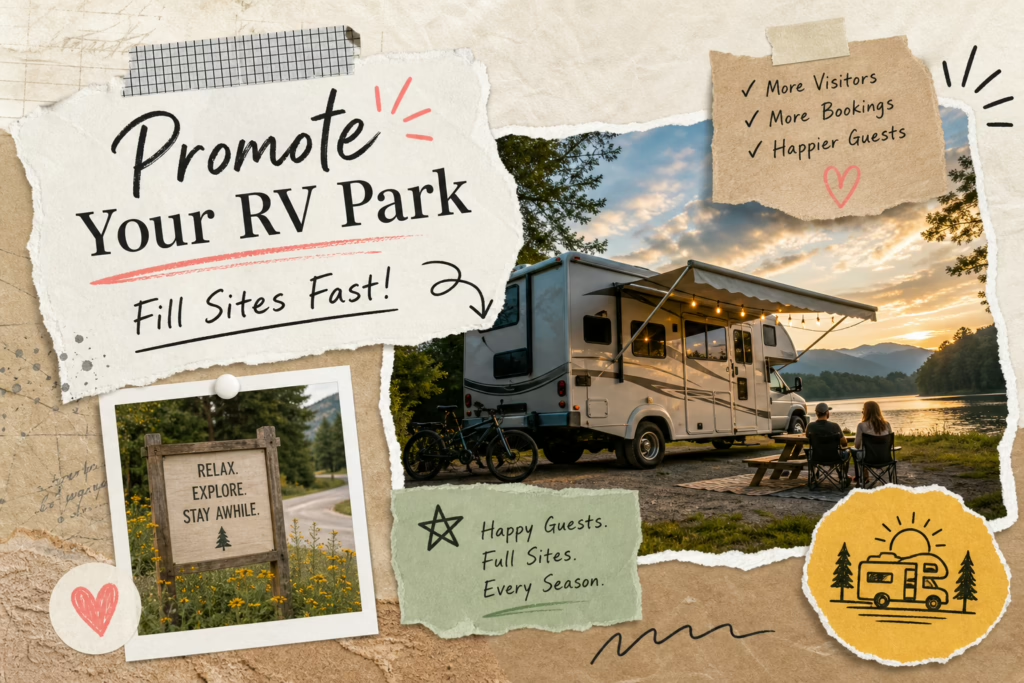
If you want to know how to get your campground to show up on Google Maps, you’re in the right place. Right now, someone near your park is typing “campgrounds near me” into their phone. They’re ready to book, have a weekend free, or are looking for a stationary spot for a month, and are staring at the Google map. Your park isn’t on it, not because it isn’t great, but because Google either doesn’t know it exists or doesn’t trust it enough to show it.
That’s a fixable problem.
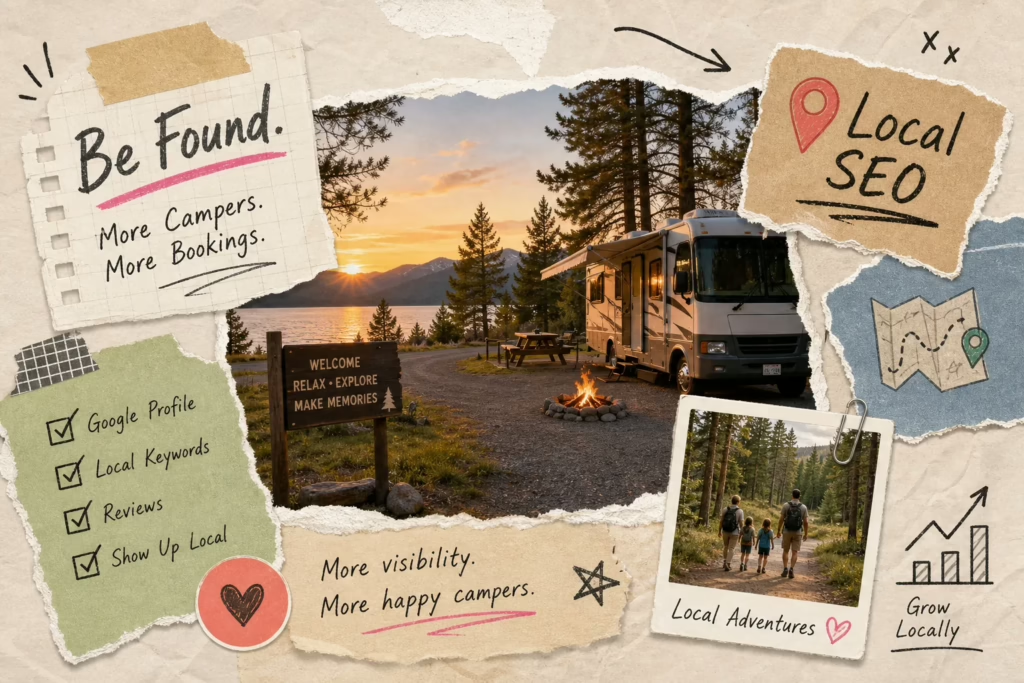
Getting your campground to show up on Google Maps is one of the highest-leverage moves you can make in 2025. According to Google’s own consumer insights, more than 75 percent of travelers use mobile devices to search for parks while on the road, and most of them start with a map search, not a phone call or booking platform. If you’re not visible in local search, you’re invisible at the exact moment guests are ready to say yes.
This guide walks through every step: adding or claiming your listing, getting through verification, filling out the profile fields that actually affect rankings, and building the review and photo presence that puts campgrounds in the local 3-pack and keeps them there.
Why Your Campground Is Invisible on Google Maps Right Now
Most campground owners assume Google has already figured out their park exists. After all, it’s been open for years, it’s on the highway, and guests find it somehow. But Google Maps doesn’t work on assumptions. It works on verified, structured data, and a surprising number of independent parks are either missing entirely or sitting on unverified, auto-generated listings with wrong phone numbers, bad pin placement, and zero photos.
The three most common culprits are an unverified listing, an incomplete profile, and no linked website. Each one suppresses visibility on its own. All three together can substantially reduce your visibility in local results. Google auto-generates listings by pulling data from third-party sources like data aggregators and review sites, but those listings aren’t controlled by the owner, which means the information is often outdated or flat-out wrong.
What’s at stake is real. The Local Pack, the three listings that appear at the top of a local search with a map, captures a disproportionate share of clicks before anyone scrolls to organic results. If your campground isn’t in that pack, you’re competing for what’s left. Understanding how the Local 3-Pack works helps you prioritize the signals that matter most.
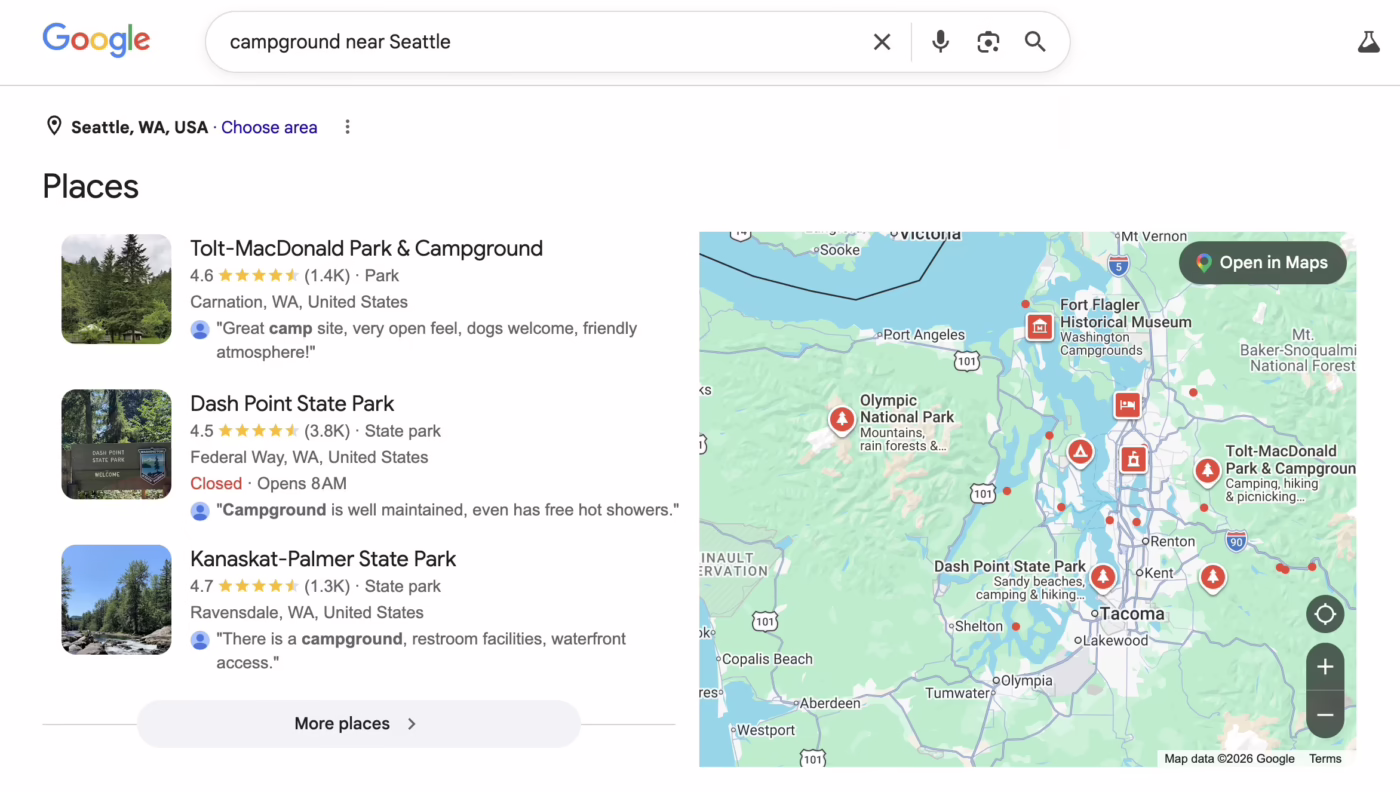
Local 3 pack on Google search for Campgrounds
How to Add or Claim Your Campground on Google Maps
Two scenarios exist.
- Either your campground already has an auto-generated listing on Google Maps that needs to be claimed, or
- Your listing doesn’t exist at all and needs to be added from scratch.
Check first by searching your campground’s name plus city in Google Maps. If it shows up with an “Own this business?” or “Claim this business” prompt, you’re in scenario one. If nothing comes up, you’re starting fresh.
Claiming an Existing Listing
Go to business.google.com, sign in with a Google account (ideally one tied to your campground’s domain email), and search for your campground by name and city. When the listing appears, click “Manage now” or “Claim this business” and follow the prompts. This is the most common situation for parks that have been operating for a few years, since Google often auto-creates listings from aggregator data and third-party sources.
Adding a Missing Campground from Scratch
On desktop, open Google Maps, navigate to your campground’s exact location, right-click on the map, and select “Add a missing place.” On mobile, long-press the location to drop a pin, tap the address bar at the bottom, then select “Add a missing place.” Fill in the name, category, address, phone, and website, then submit for Google’s review.
Two things matter here.
- Use your exact legal business name with no keyword stuffing. Adding “best campground Texas” to your listing name is a violation Google actively penalizes.
- Place the pin on your actual entrance, not on the nearest major road. Pin placement errors are one of the most overlooked issues campground owners face, and they directly affect how your listing performs in proximity-based searches.
As RVers ourselves, we can’t stress the importance of having your pin at your entrance. We’d have a number of occasions for a dead-end U-Turn or “One more lap around the block” towing out a travel trailer, and it doesn’t put your campers in the right frame of mind to enjoy your park when they’re a bit agitated at the process of arriving.

Make the Google pin for your campground be your entrance
Getting Verified Without the Runaround
Verification is where most campground owners either get stuck or give up. Google will not publish or rank a listing until it’s verified. There’s no workaround. The good news is that the process is straightforward once you know what to expect.
Google selects the verification method based on your location type, data availability, and account history. You don’t get to choose. For physical locations like campgrounds, the four most common options are: a postcard by mail (a code arrives in 5 to 14 days, most common), an automated phone call (near-instant if available), a video recording upload (increasingly common and often faster than the postcard), or a Google Search Console link (instant, but only if you already have a verified website connected to the same Google account).
Video verification has become more prevalent for new listings and address changes. For campgrounds, the video needs to show the following:
- Your access road or a nearby landmark to confirm location
- Your entrance sign matching the exact business name you registered
- A walkthrough of amenities or RV sites to prove the business is real and operational
- Some proof of management, like unlocking a gate or showing a registration desk
Record continuously, avoid cuts, and upload directly through the app. According to Google’s verification guidance, many listings are approved on the first submission when the video clearly matches the registered business details. For step-by-step advice on preparing and submitting a verification video, consult a complete guide to Google Business video verification.
If your postcard code expires before you enter it, request a new one from the dashboard. If no verification method is offered, Google Business Profile support can initiate a live video call in which a representative watches you walk the property in real time.
Categories, Attributes, and the Profile Fields That Actually Move the Needle
Once verified, most campground owners fill in the basics and move on. That’s a mistake. A fully optimized Google Business Profile for campgrounds outranks an incomplete one, even when the incomplete listing has more reviews. According to Moz’s 2024 Local Search Ranking Factors report, the Business Profile itself accounts for roughly 32 percent of local pack ranking factors.
For the primary category, use “Campground.” If your park accommodates RVs, add “RV Park” as a secondary category. From there, layer in additional secondaries that match what you offer: “Camping Cabin” if you rent cabins, “Camping Store” if you sell gear on-site. One important warning: do not use hotel or traditional lodging categories. Google can apply a “Rooms” rating system to those profiles, which doesn’t fit the campground model and can introduce irrelevant metrics that confuse potential guests.
Attributes are the often-ignored section that quietly drives much of the filtered search traffic.
Enable every attribute that applies to your park. The high-value ones to check off include:
- Full hookups, electric hookups, water hookups, sewer hookups
- Pet-friendly, Wi-Fi available, restrooms and showers
- Fire pits, dump station, playground, laundry facilities
These attributes appear in Google’s filter system and rich listing results. When a camper searches “pet-friendly RV park near Austin,” Google pulls from these attribute fields to match them with relevant listings. If your park is pet-friendly but that attribute isn’t enabled, it won’t appear in that filtered result set.
Photos and Reviews: The Two Signals Google and Campers Trust Most
According to Moz’s local search ranking research, Business Profile signals and reviews together account for a substantial portion of local pack visibility. Photos and reviews are the most controllable parts of that equation, and most campground owners underinvest in both.
For photos, start with at least 10 owner-uploaded images at launch and add new ones regularly. The types that perform best are campsites with rigs actually set up (not empty sites), bathhouse and amenity photos, entrance and signage shots, and seasonal scenery. Google’s own Business Profile documentation notes that listings with high-quality photos receive around 35 percent more clicks than those without.
Google recommends at least 25 photos for outdoor lodging businesses, with well-lit, unfiltered images in JPG or PNG format at a minimum of 720 x 720 pixels. Your first upload should be a strong cover photo since it’s the most prominent image shown in search results. For practical tips on selecting and uploading effective images, see this guide on Google My Business photos best practices.
Reviews don’t happen by accident.
The most effective approach is a direct ask at checkout or through a follow-up email that includes a link straight to your Google review form. Skip the vague “leave us a review” request and make it frictionless. Responding to every review, both positive and negative, signals to Google that the business is active and engaged. That activity feeds into ranking.
Research on local search factors consistently shows that listings with strong review volume and regular owner responses perform better than those with more reviews but no engagement from the owner. Here are our suggestions on getting more Google reviews for your campground.
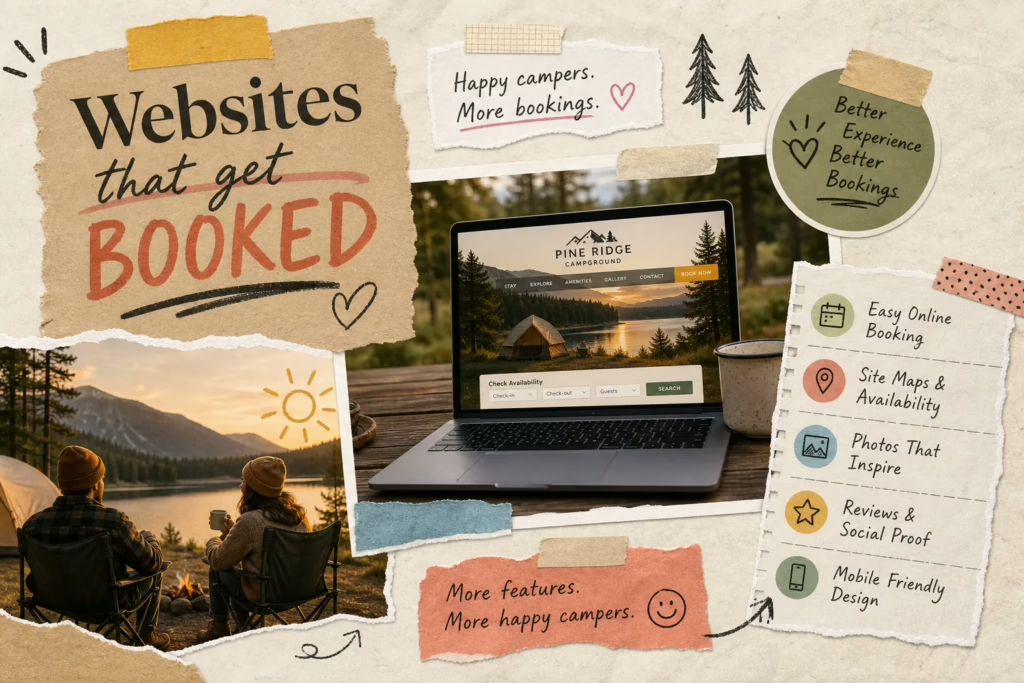
Why Linking a Professional Website to Your Listing Changes Everything
A Google Business Profile without a strong linked website is a shelf with no product on it. Google uses the linked website to verify business legitimacy, check NAP consistency (name, address, phone), and pull content signals that inform which searches your listing should appear for. A slow, unsecured, or thin website actively weakens your listing’s authority. A mobile-friendly, SEO-structured campground website strengthens it.
More than 75 percent of travelers use mobile phones to search for parks while on the road. If your site loads slowly or breaks on a phone screen, Google notices, and so do campers. That’s a booking you’ve already lost before they ever contact you.
The full-stack combination that dominates local search is a verified, optimized Google Business Profile paired with a professional website and consistent NAP information across directories like Yelp, Campendium, and The Dyrt. NAP consistency sounds tedious, but even small variations, “Street” vs. “St.”, weaken your citation authority over time and let competitors with cleaner profiles advance past you. Audit your listings across every platform and lock in a single canonical format for your name, address, and phone number.
Campground owners who start with an SEO-ready website built specifically for their park enter Google Maps optimization with a stronger foundation. That’s the philosophy behind many resources on SEO for campground and RV park websites: every site should be built with local keyword structure, mobile responsiveness, and a technical SEO base designed to support a Google Business Profile, so the two assets reinforce each other rather than working in isolation.
Get Found, Stay Found on Google Maps
Getting your campground to show up on Google Maps isn’t a one-afternoon project you set and forget. It’s a living asset that rewards owners who keep it current: updating hours for seasonal changes, responding to reviews promptly, adding fresh photos each month, and making sure the website behind the listing stays fast, secure, and relevant.
The steps are clear. Claim or add the listing, complete verification, fill out the full profile with the right categories and attributes, upload strong photos, build a simple review strategy, and connect a solid website. None of it is complicated. All of it compounds over time.
Follow these steps consistently and your campground will show up on Google Maps where it belongs, in front of guests who are already ready to book. The campgrounds winning in local search right now aren’t necessarily the biggest or the best-funded. They’re the ones that treat their digital presence like the front gate to their park. Make yours worth walking through.